Getting started
Add your bike, set the terrain, get your checklist. Here's the whole loop.
-
Open the Garage
MotoChecklist opens on a short menu asking what you're doing today. Tap "Garage" — your bikes live here, and the first time it's empty. Tap to add one.
Once you've got a bike, "Pre-ride checklist" on that first screen takes you straight to its list without the stop in the Garage.
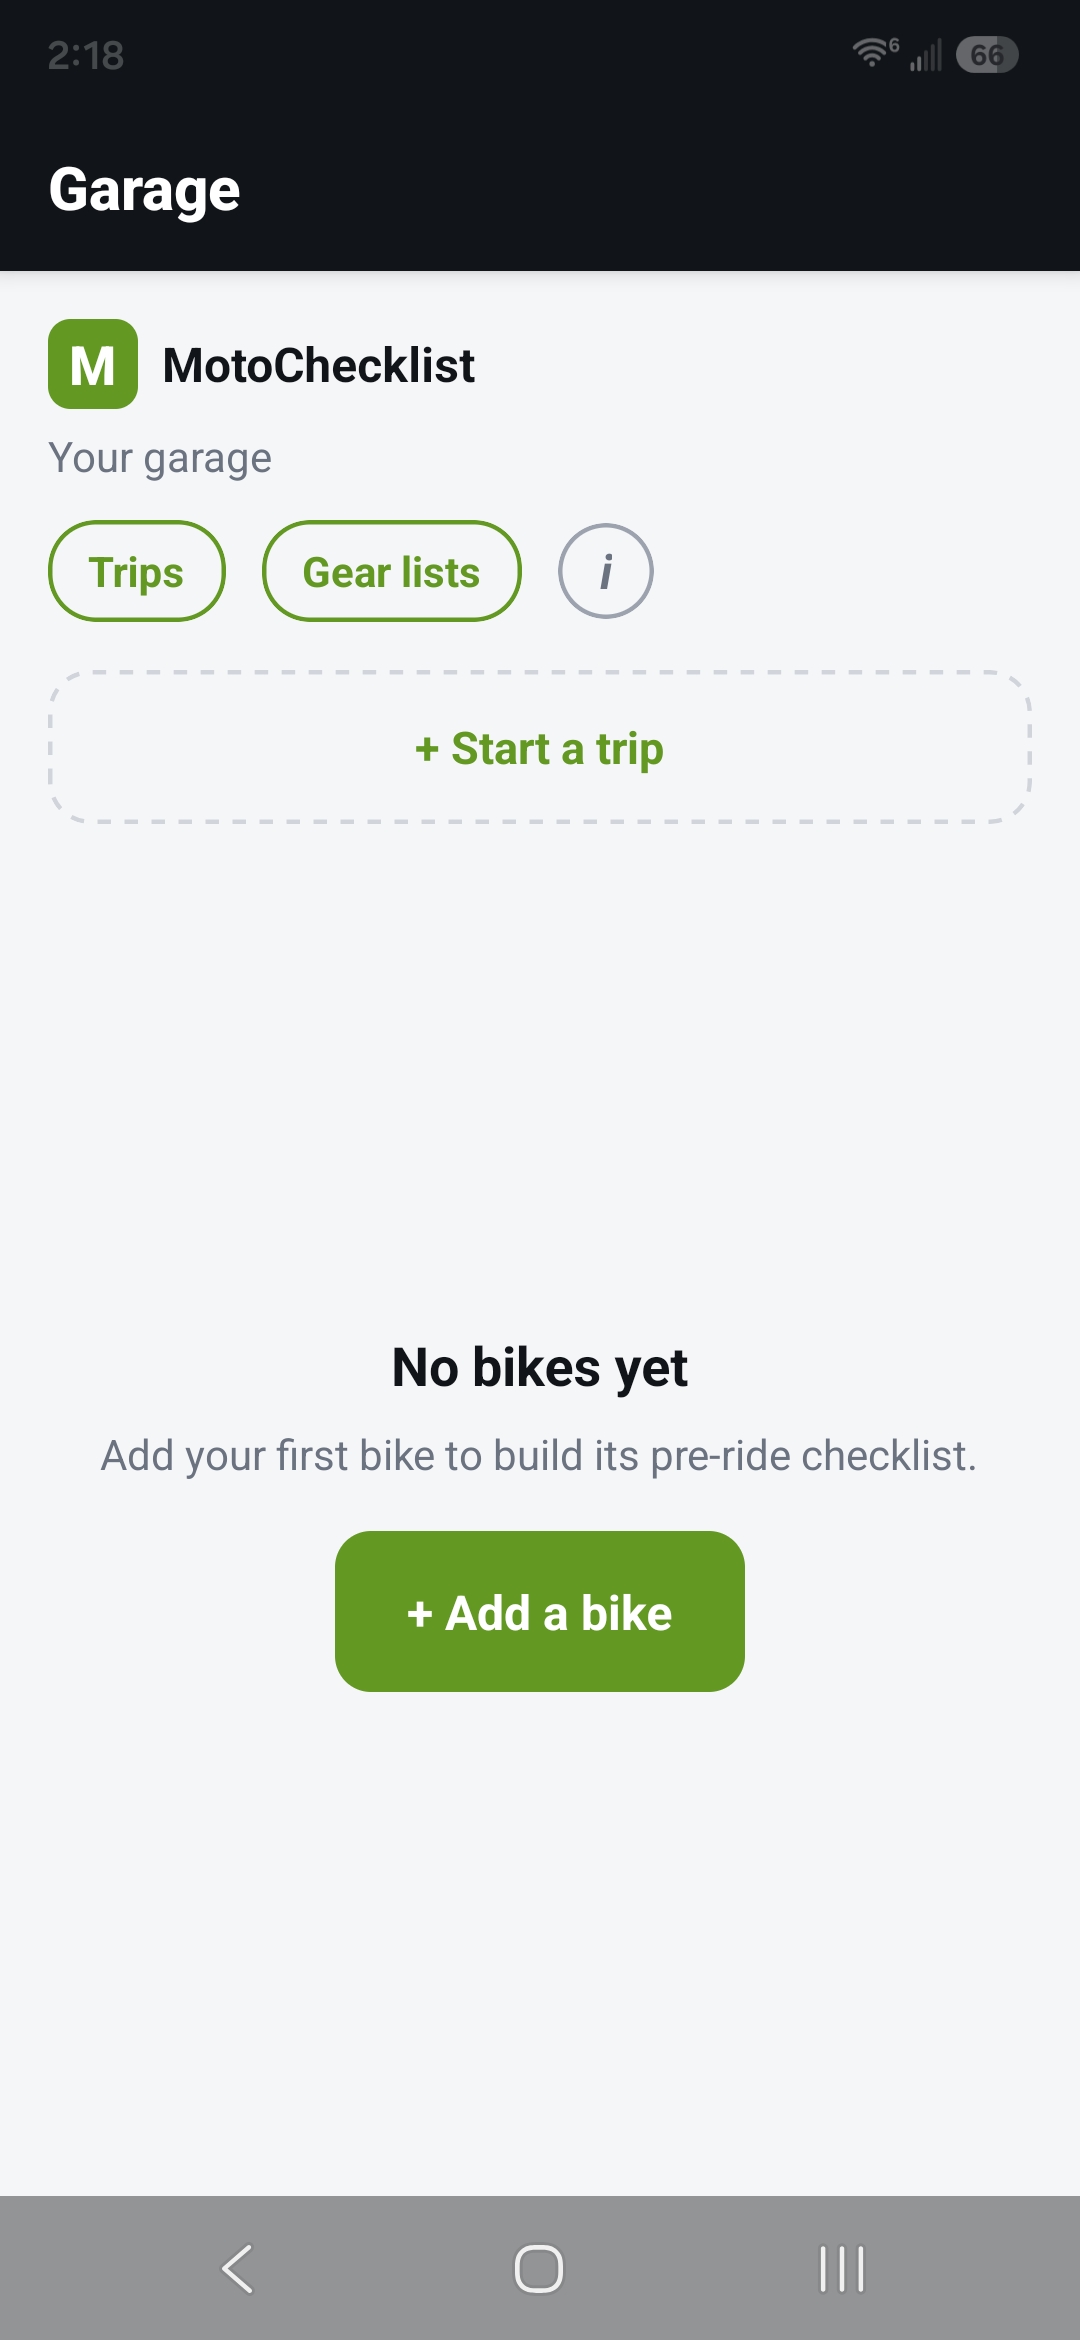
Garage — empty state -
Pick make, model, year
Work down the list: make, then model, then year. If a year covers more than one version of the bike, MotoChecklist asks which one.
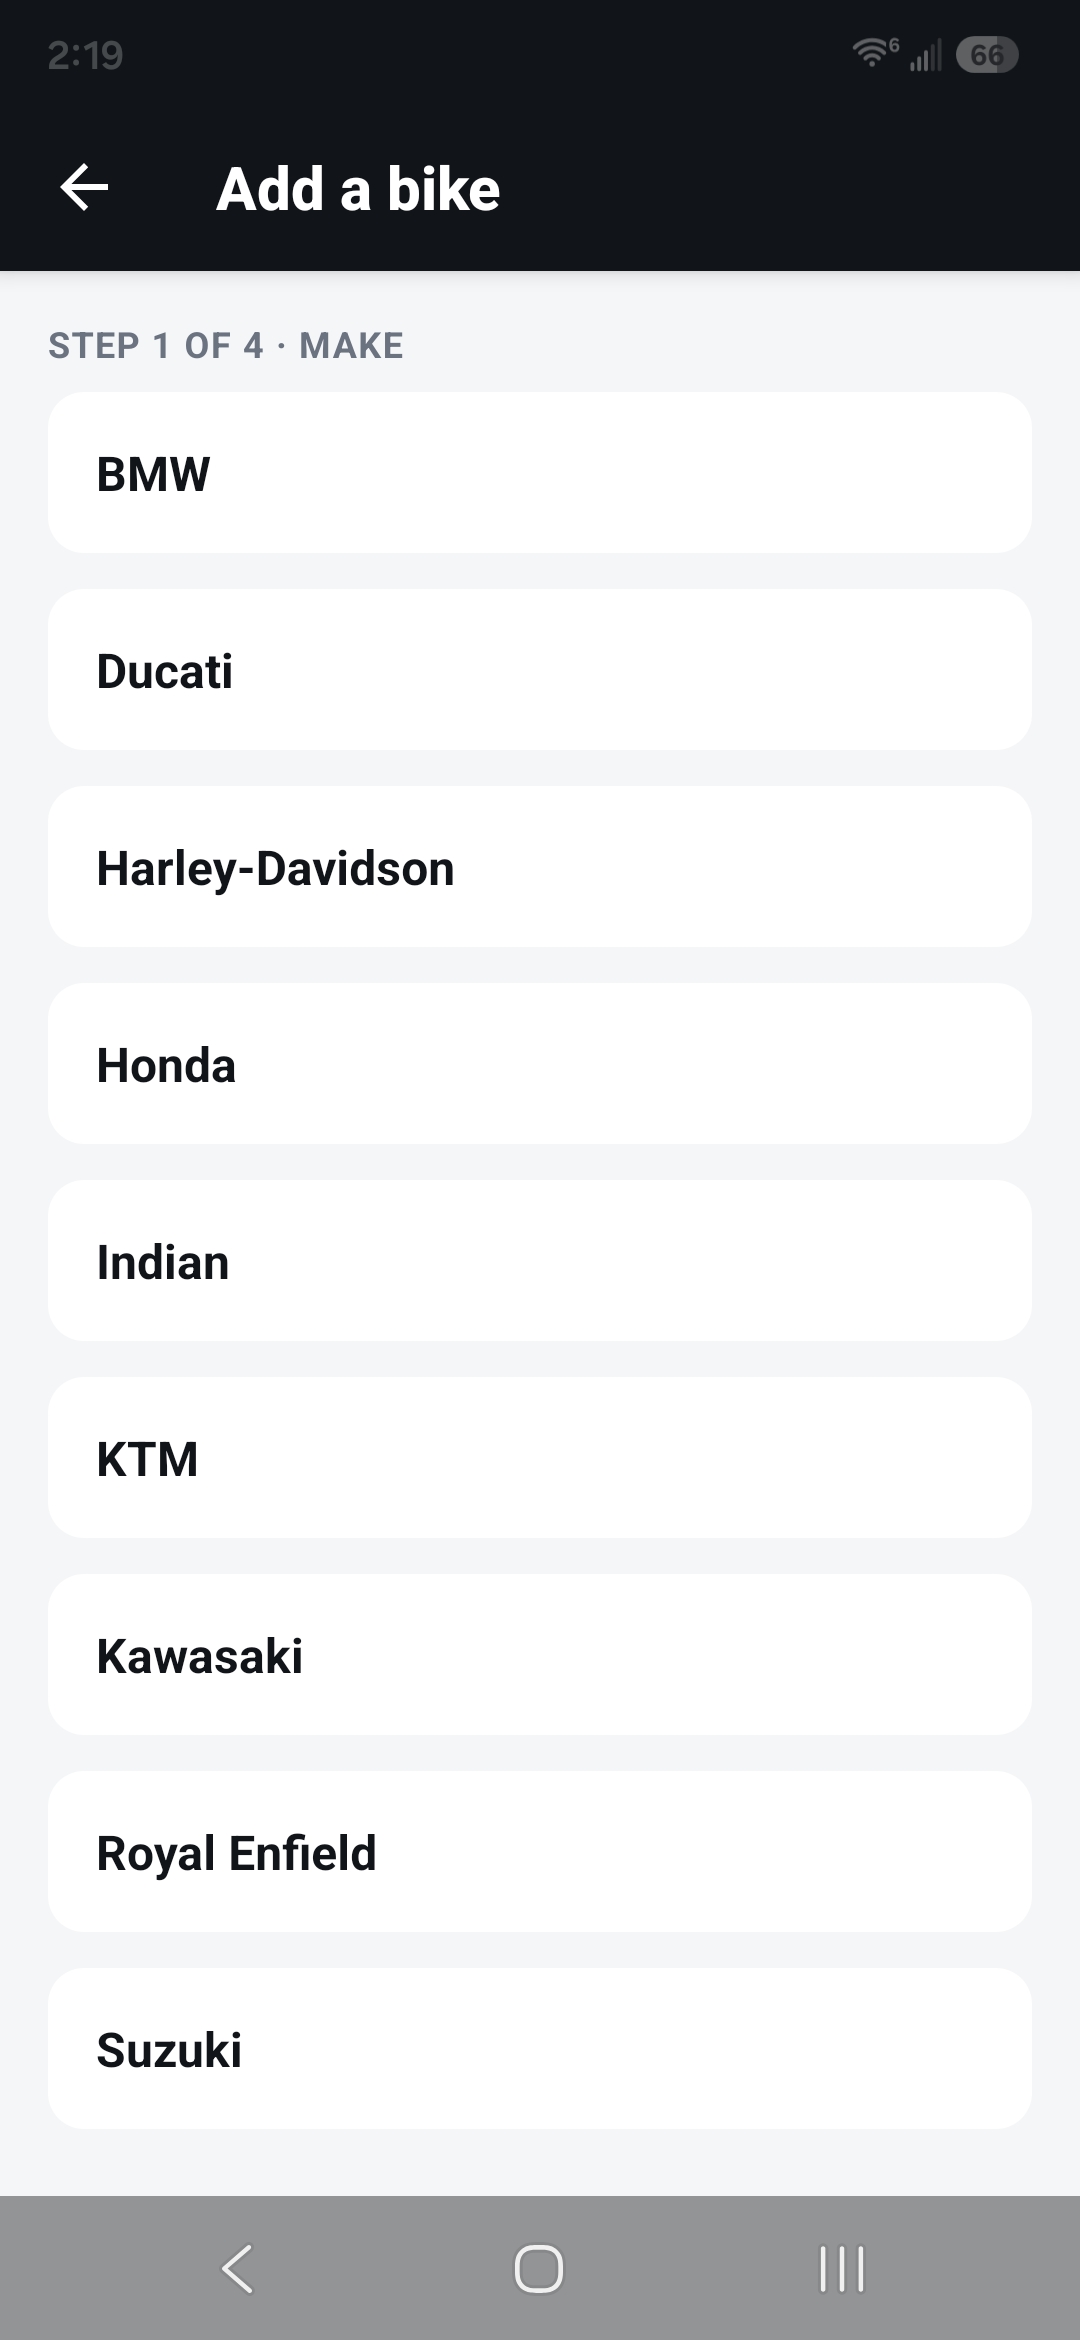
Make step 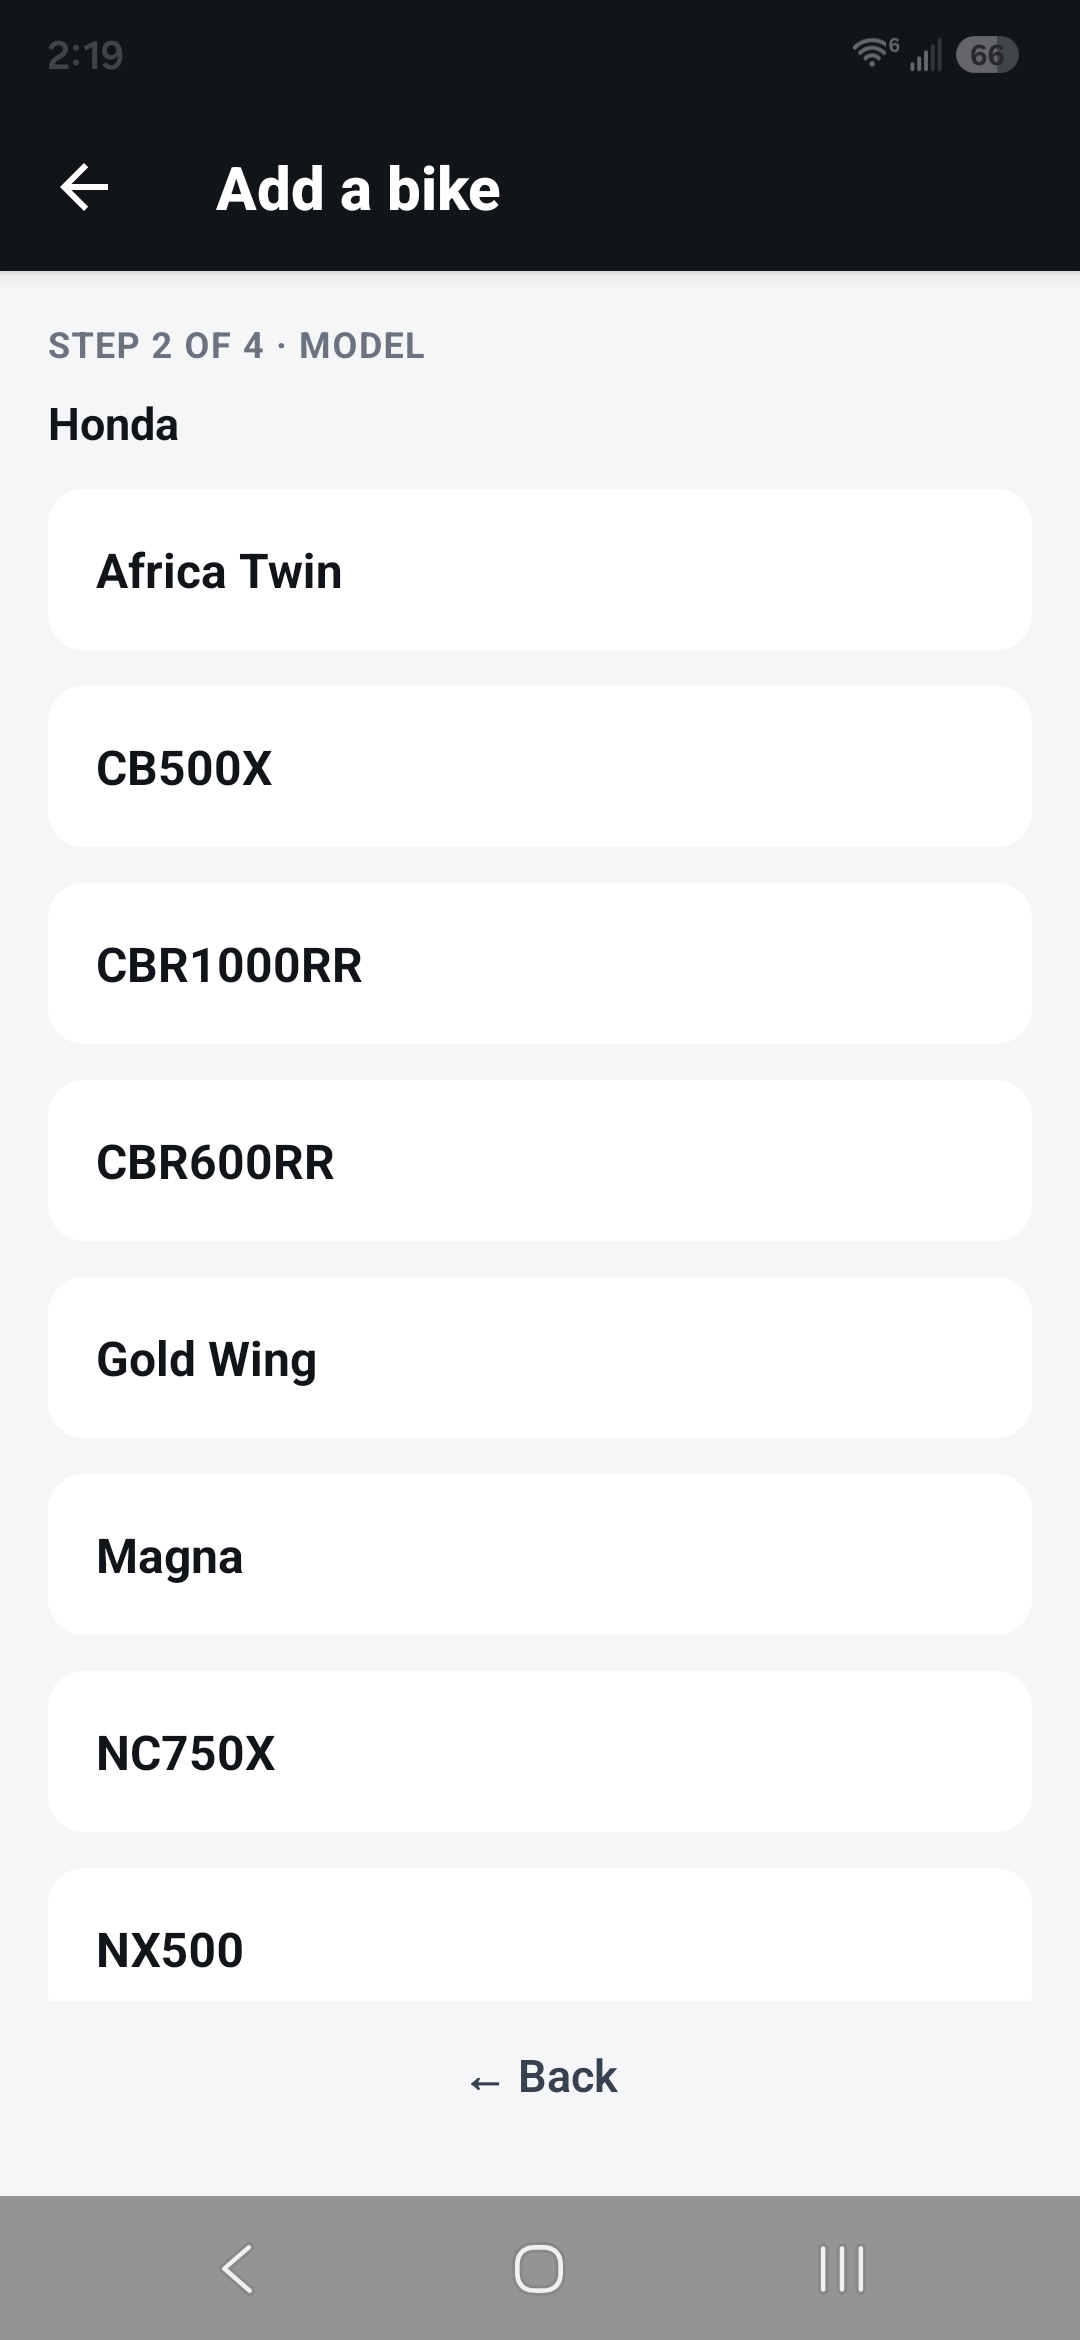
Model step 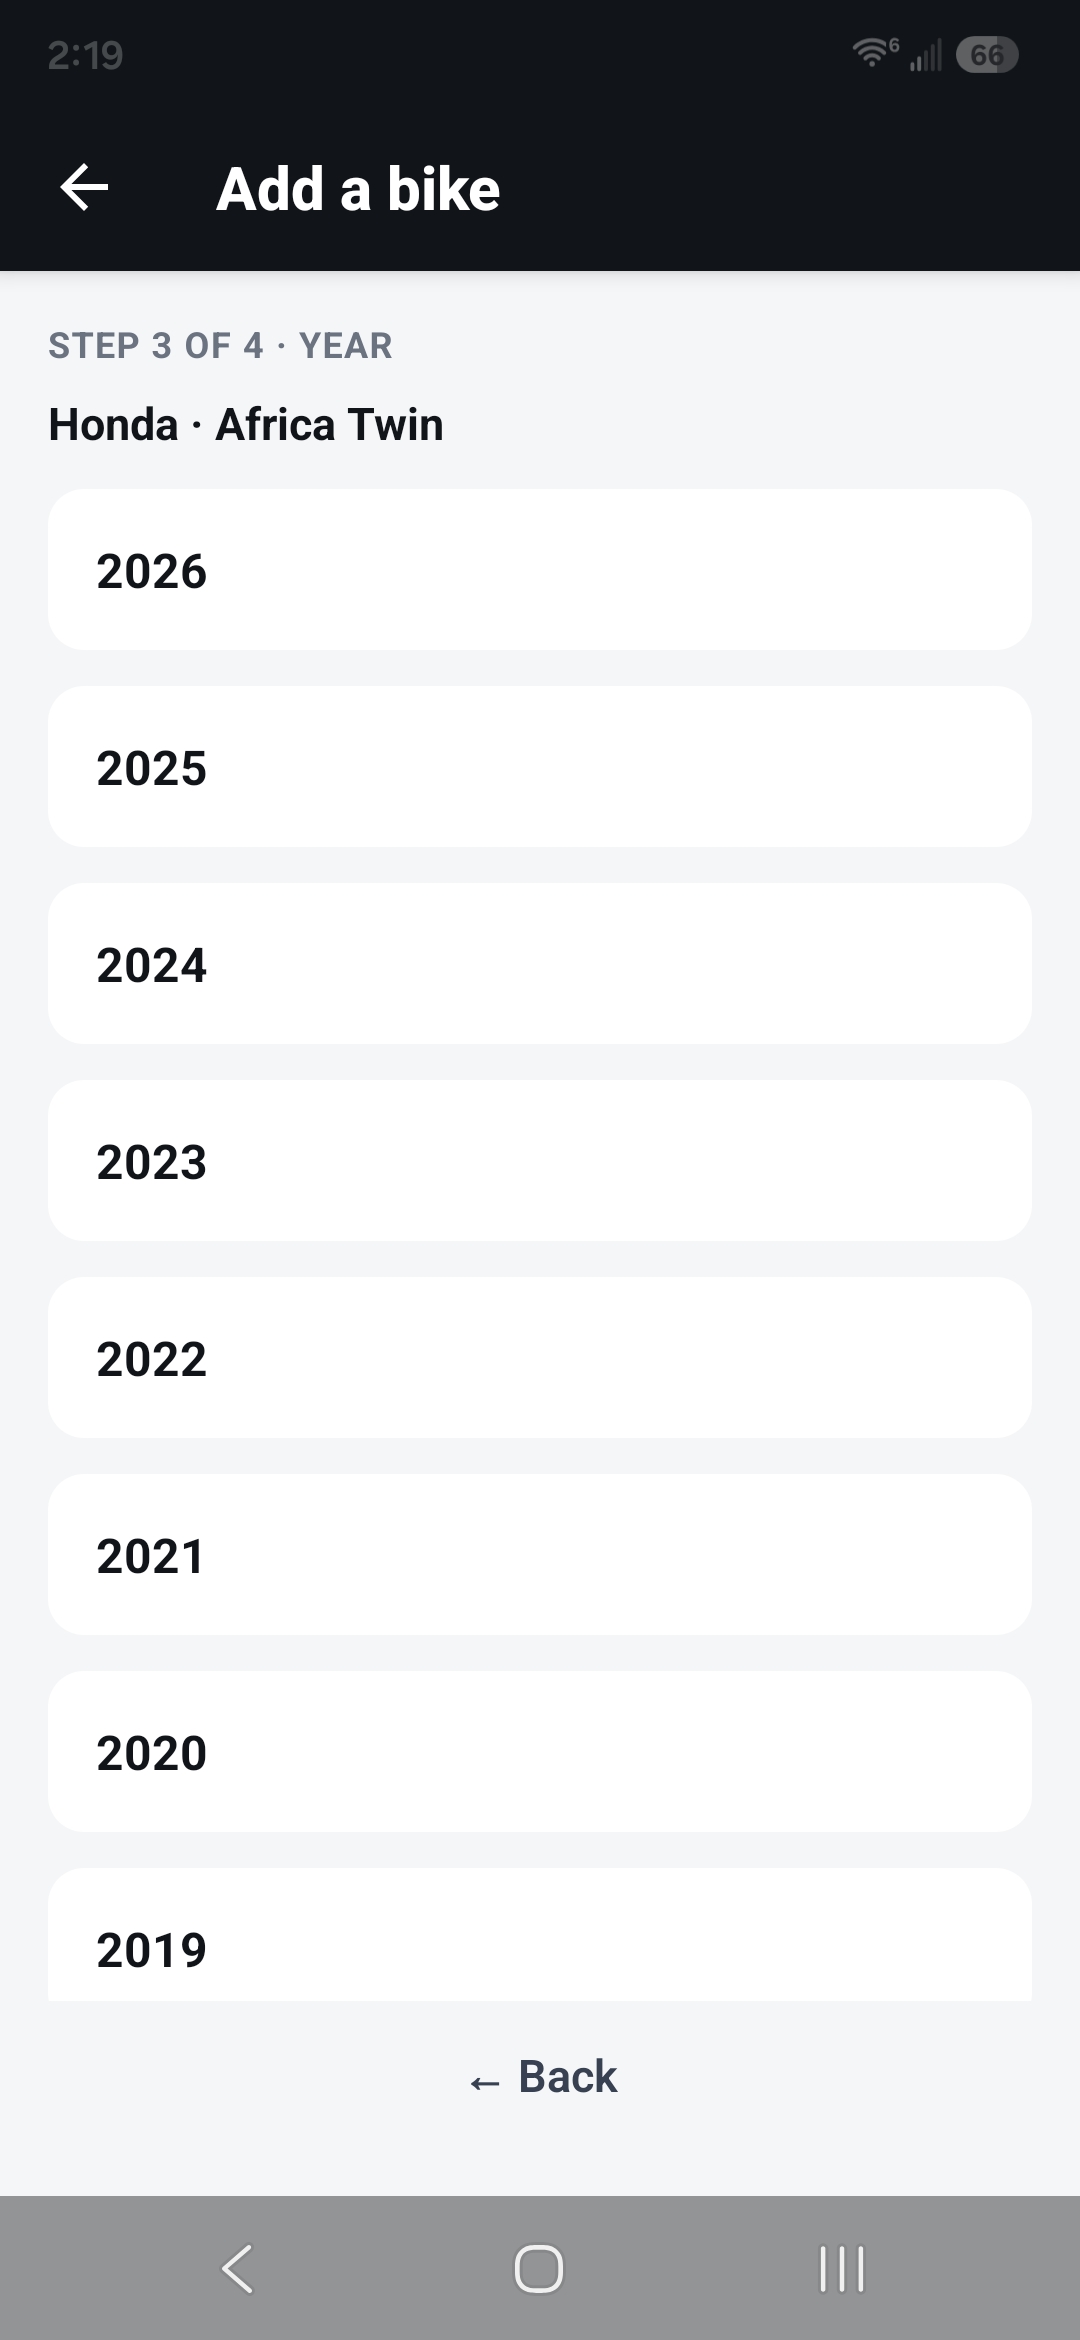
Year step 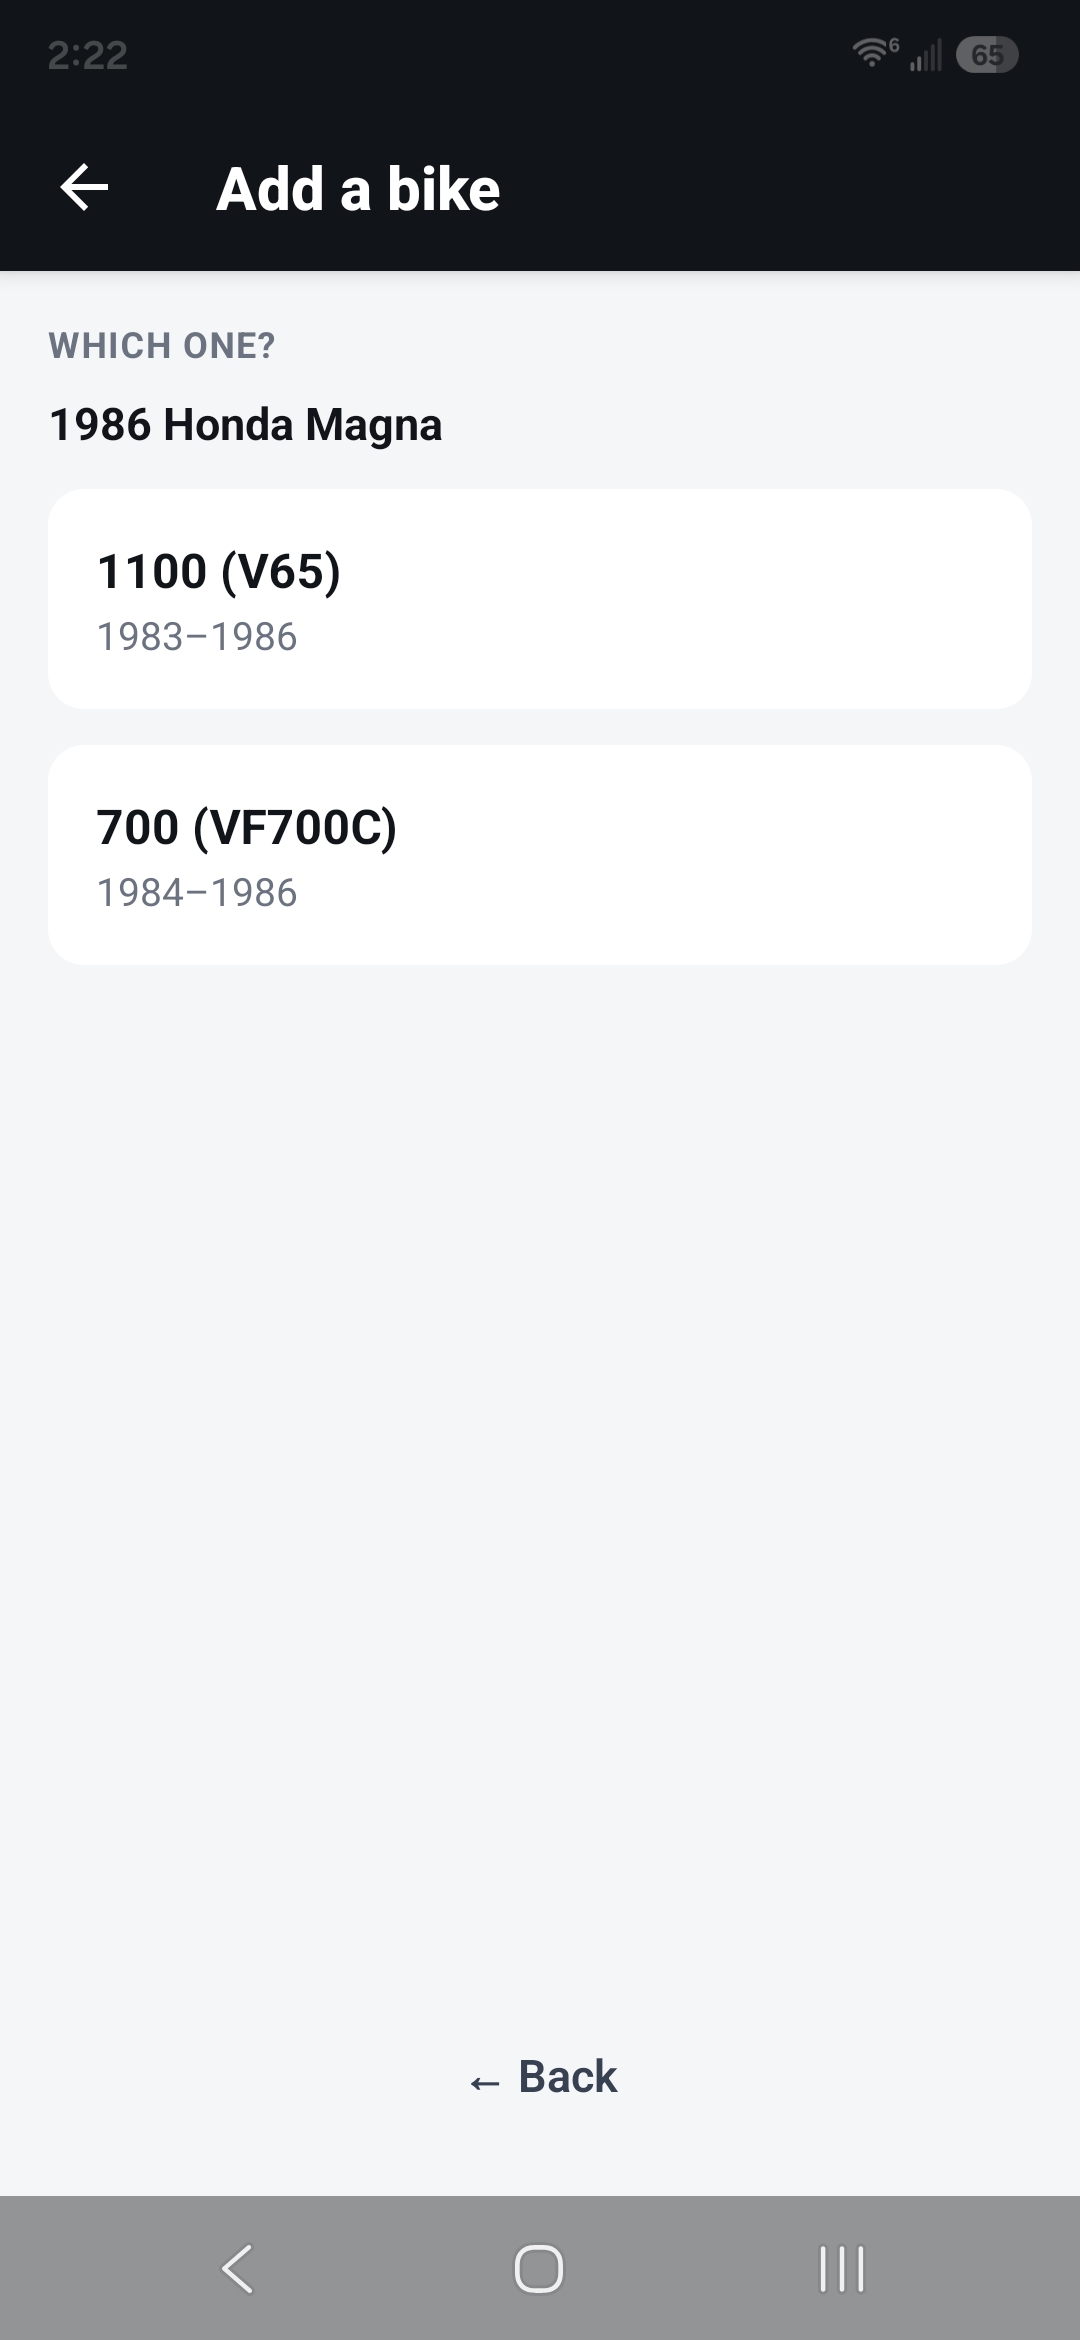
The "Which one?" step -
Name it
Give the bike a name so you can tell it apart in the Garage.
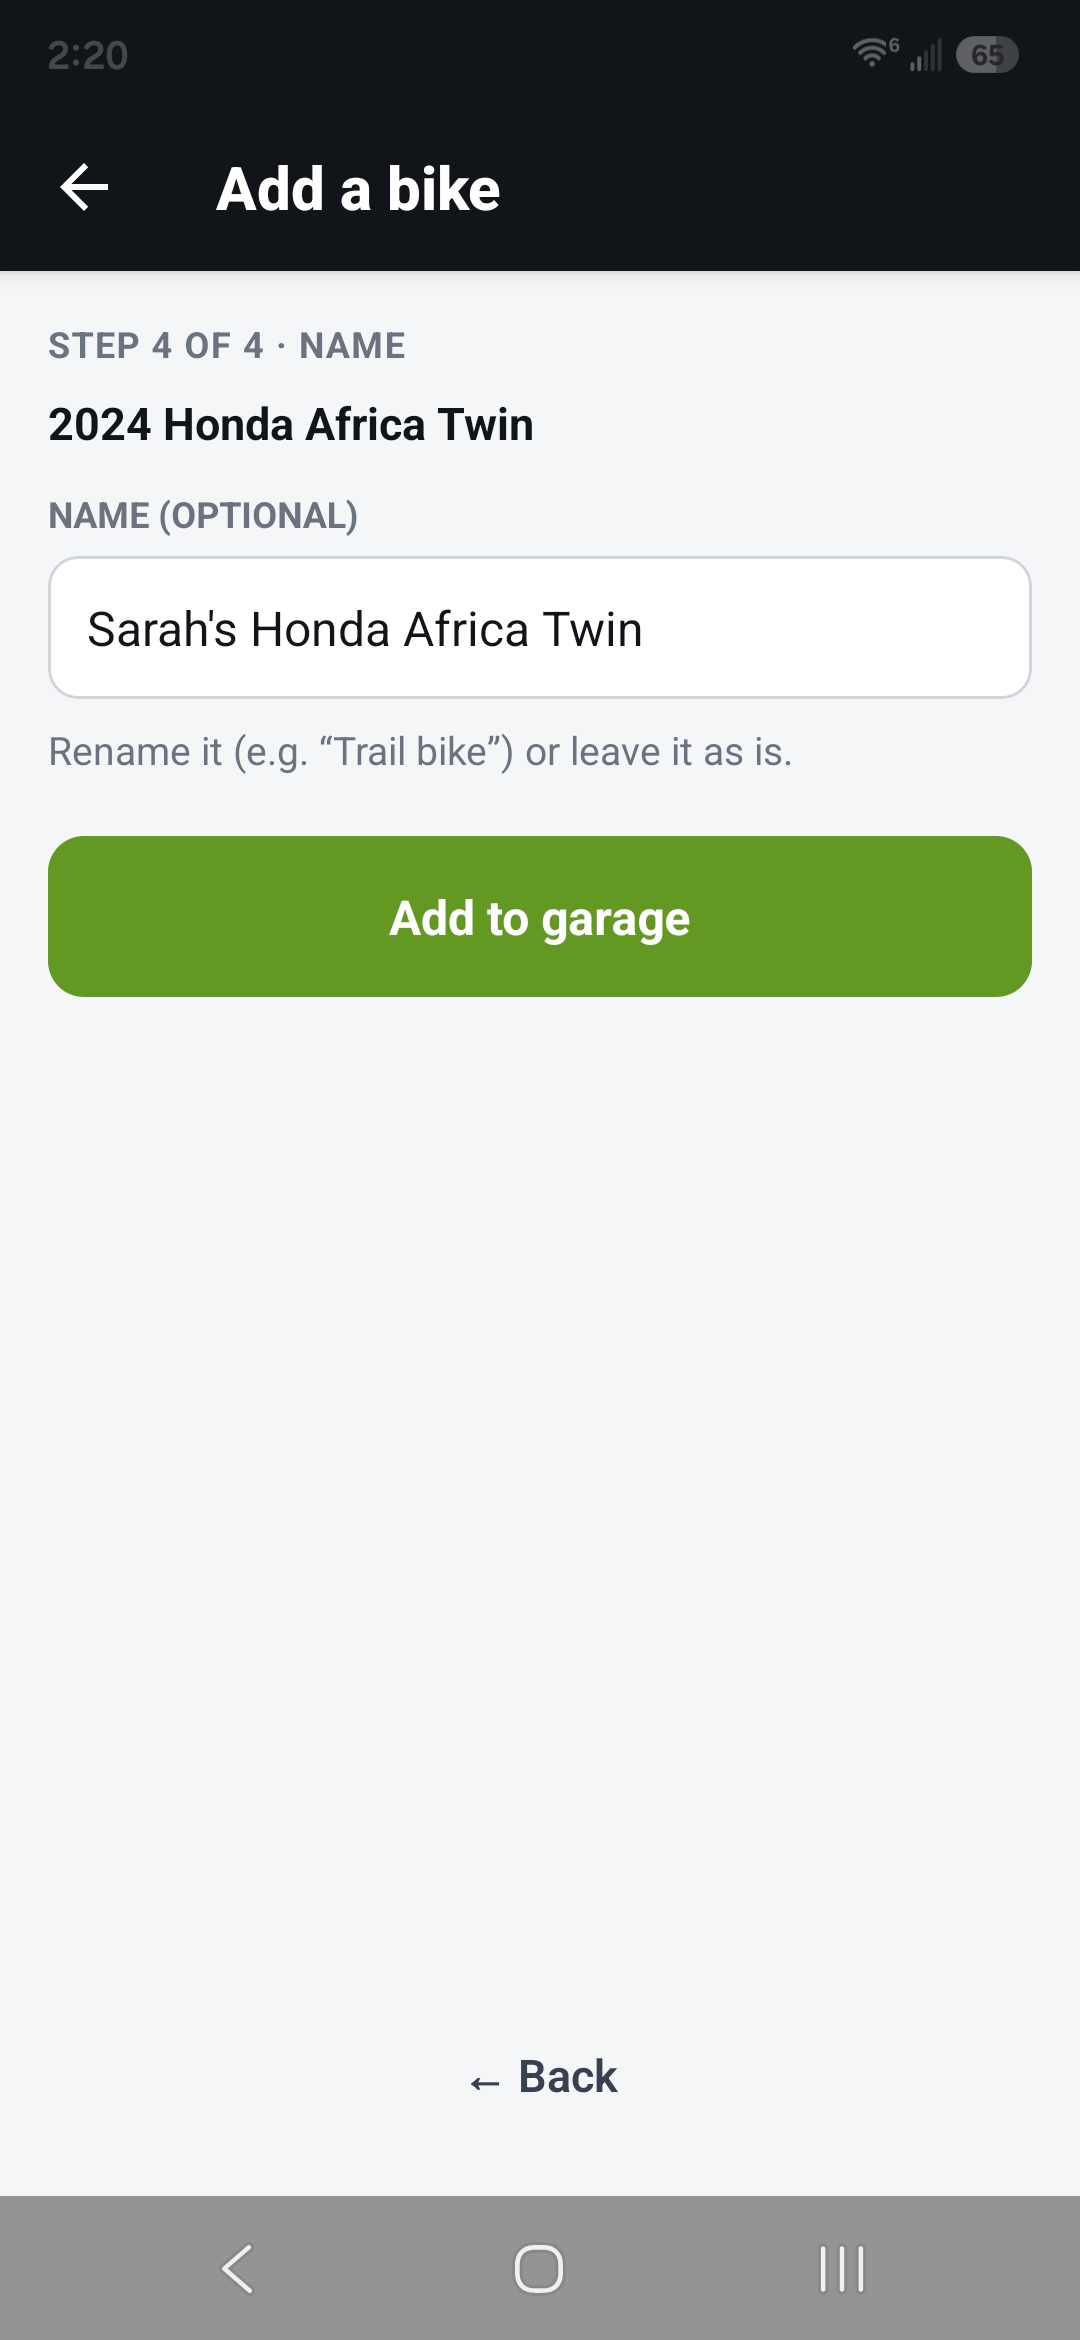
Name step 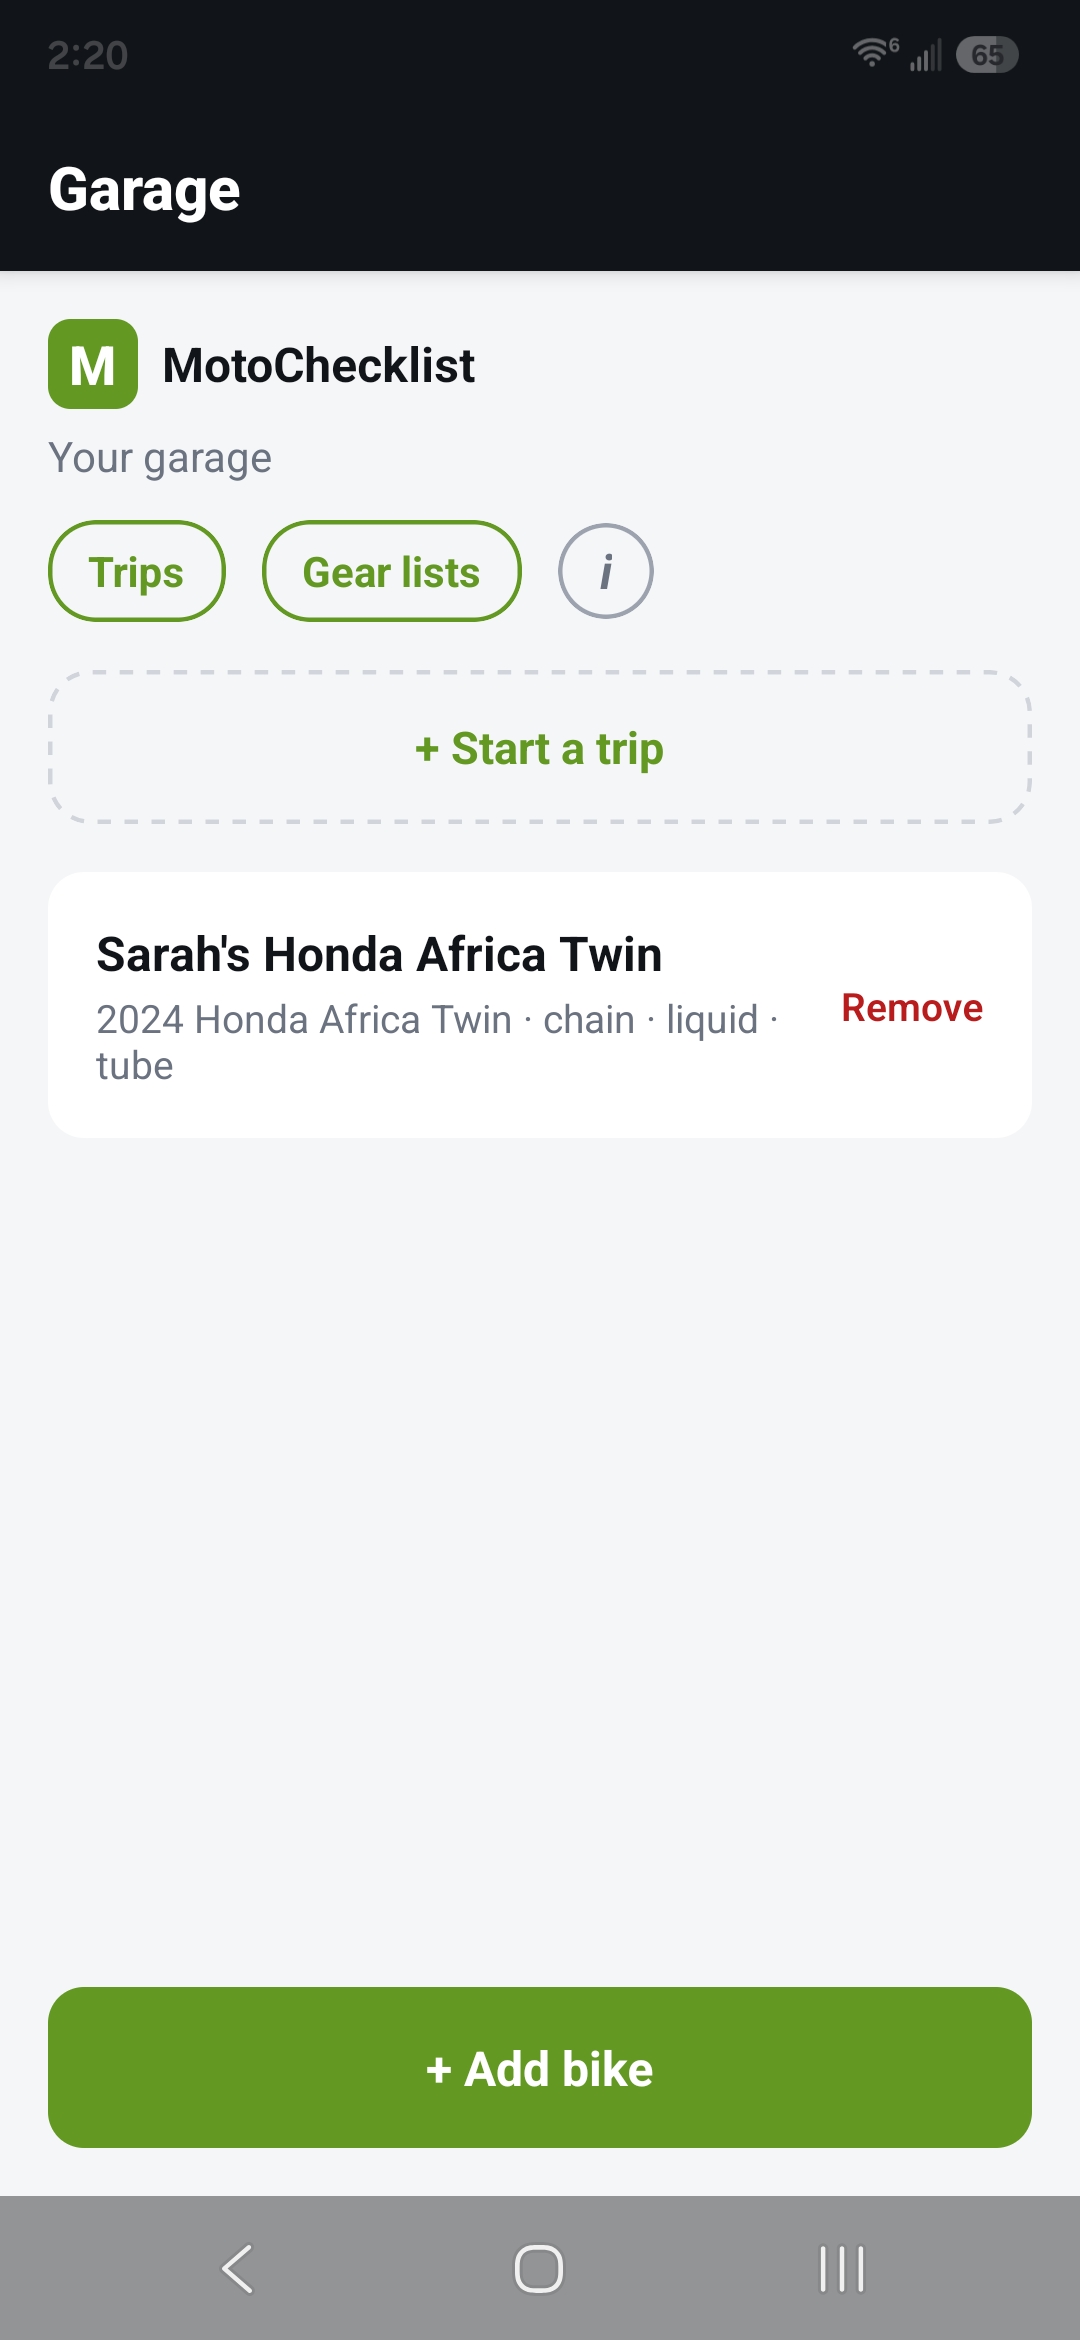
Garage with the new bike card -
Open its checklist
Tap the bike. At the top, set the terrain — road, mixed, or off-road. Below, your checklist is grouped into sections.
On a trip and the morning says mud? See Adjusting terrain morning-of.
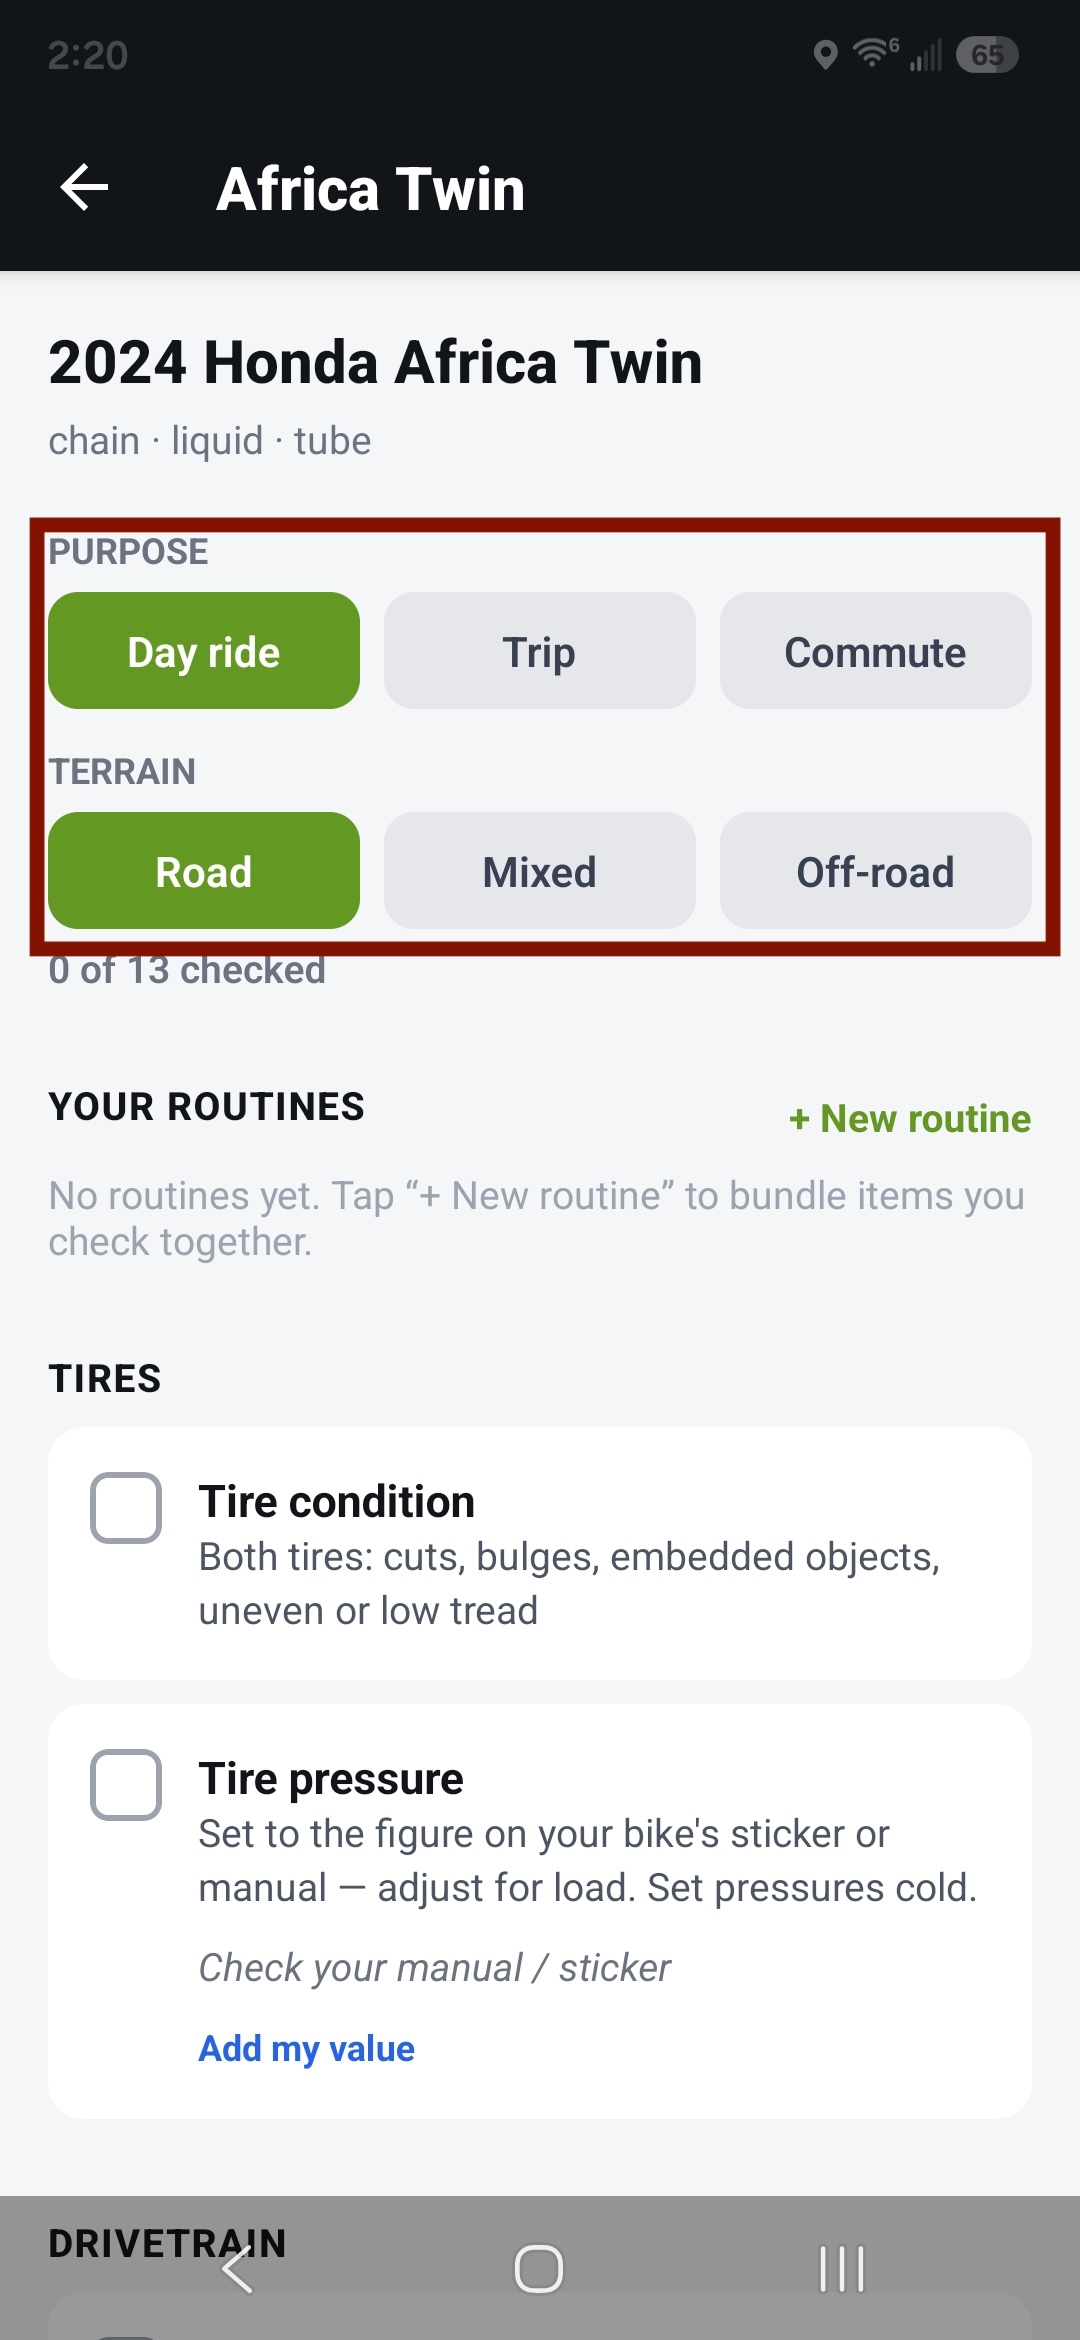
Checklist top — terrain selector 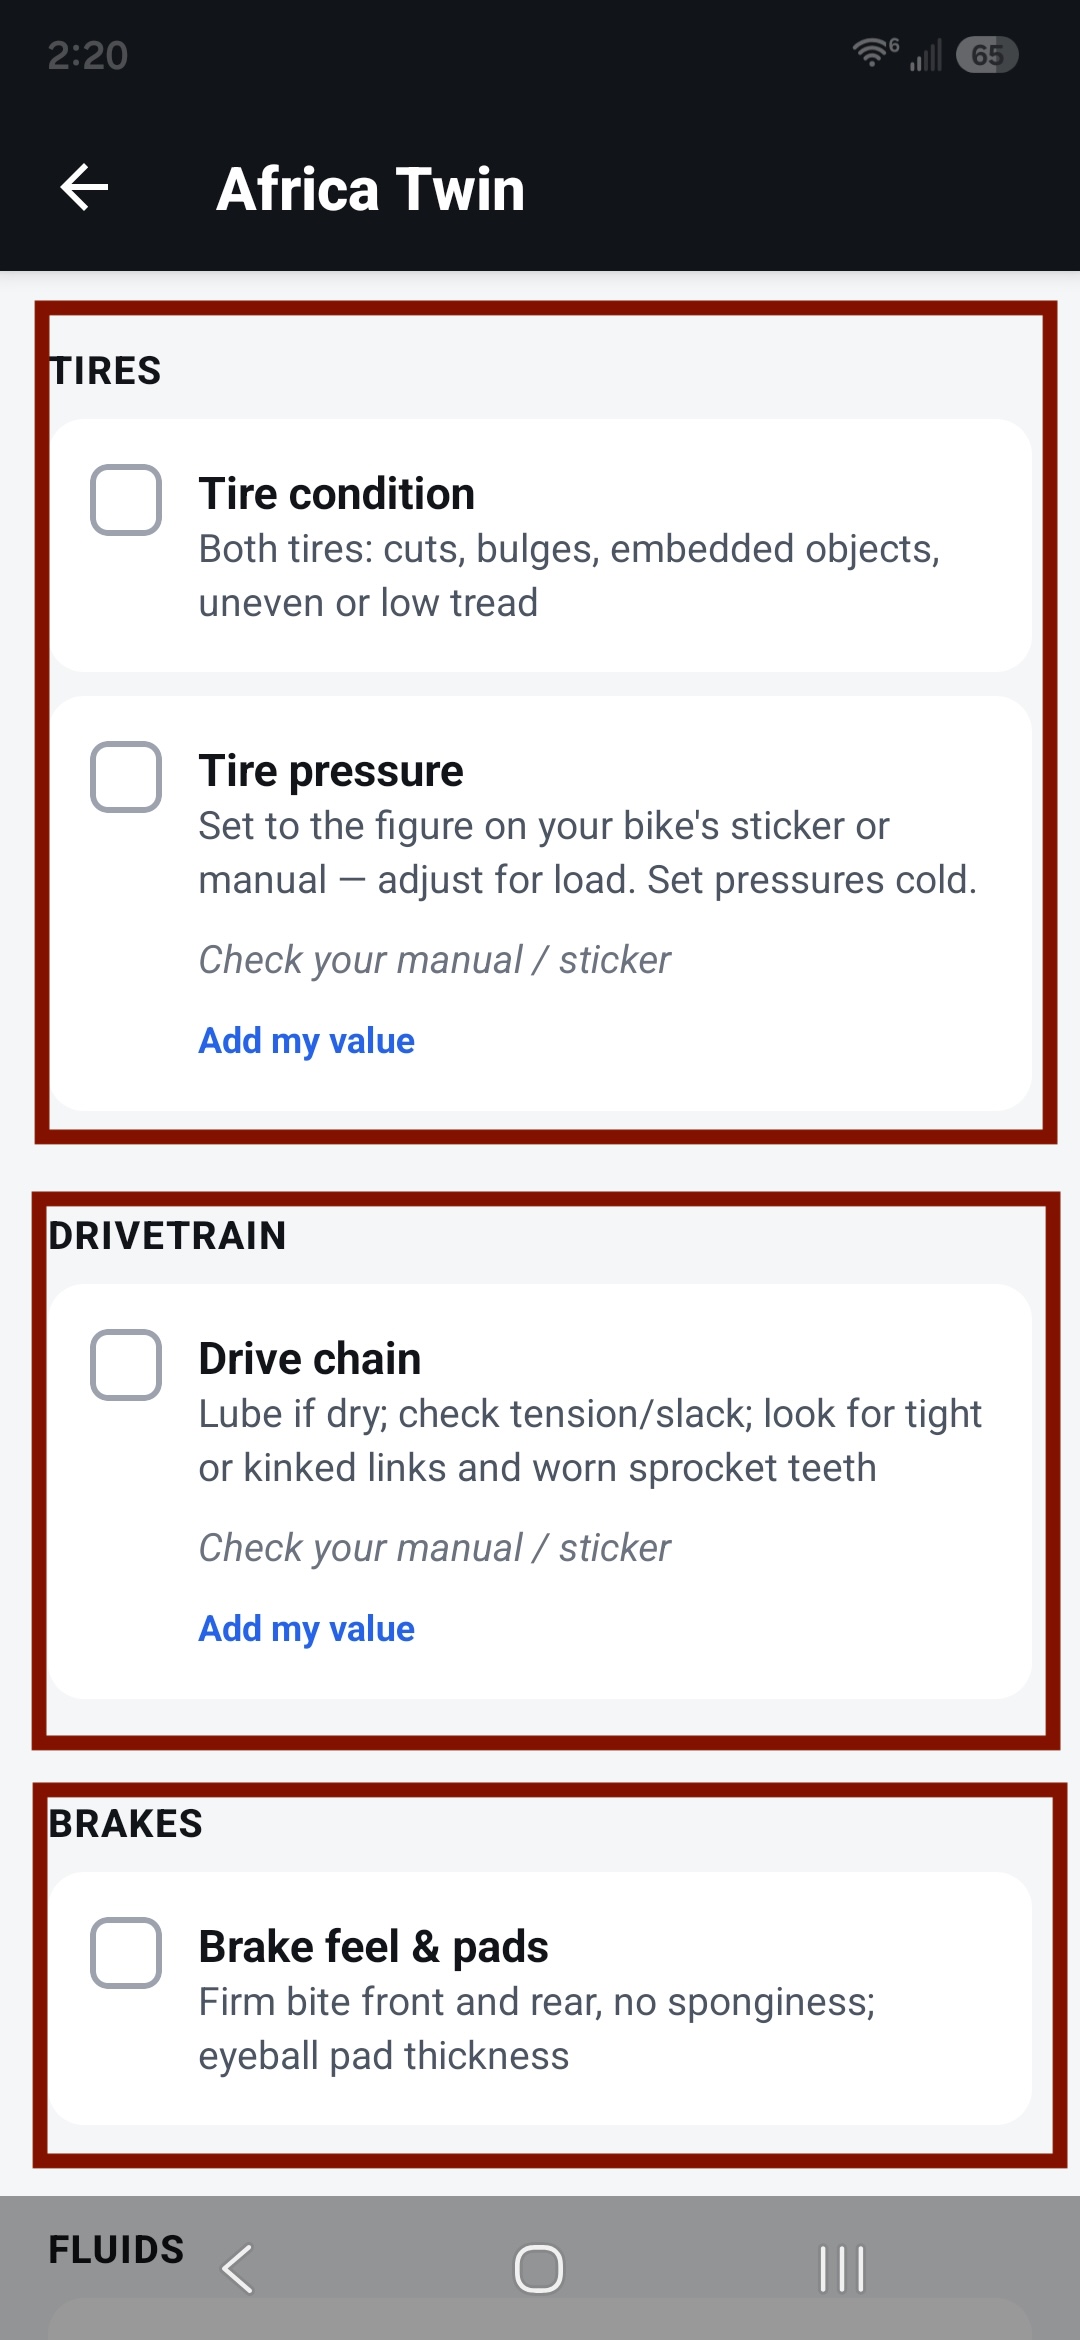
Checklist sections -
About the reference values
Some items show a reference figure to check against. Where MotoChecklist doesn't have a confirmed value for your bike, it says so — "check your manual" — rather than guess. You can set your own value on any item, and it'll remember it for that bike.
Either way, check the figure against your own vehicle, its owner's manual, and the tire/door placard — the app carries that reminder alongside them.
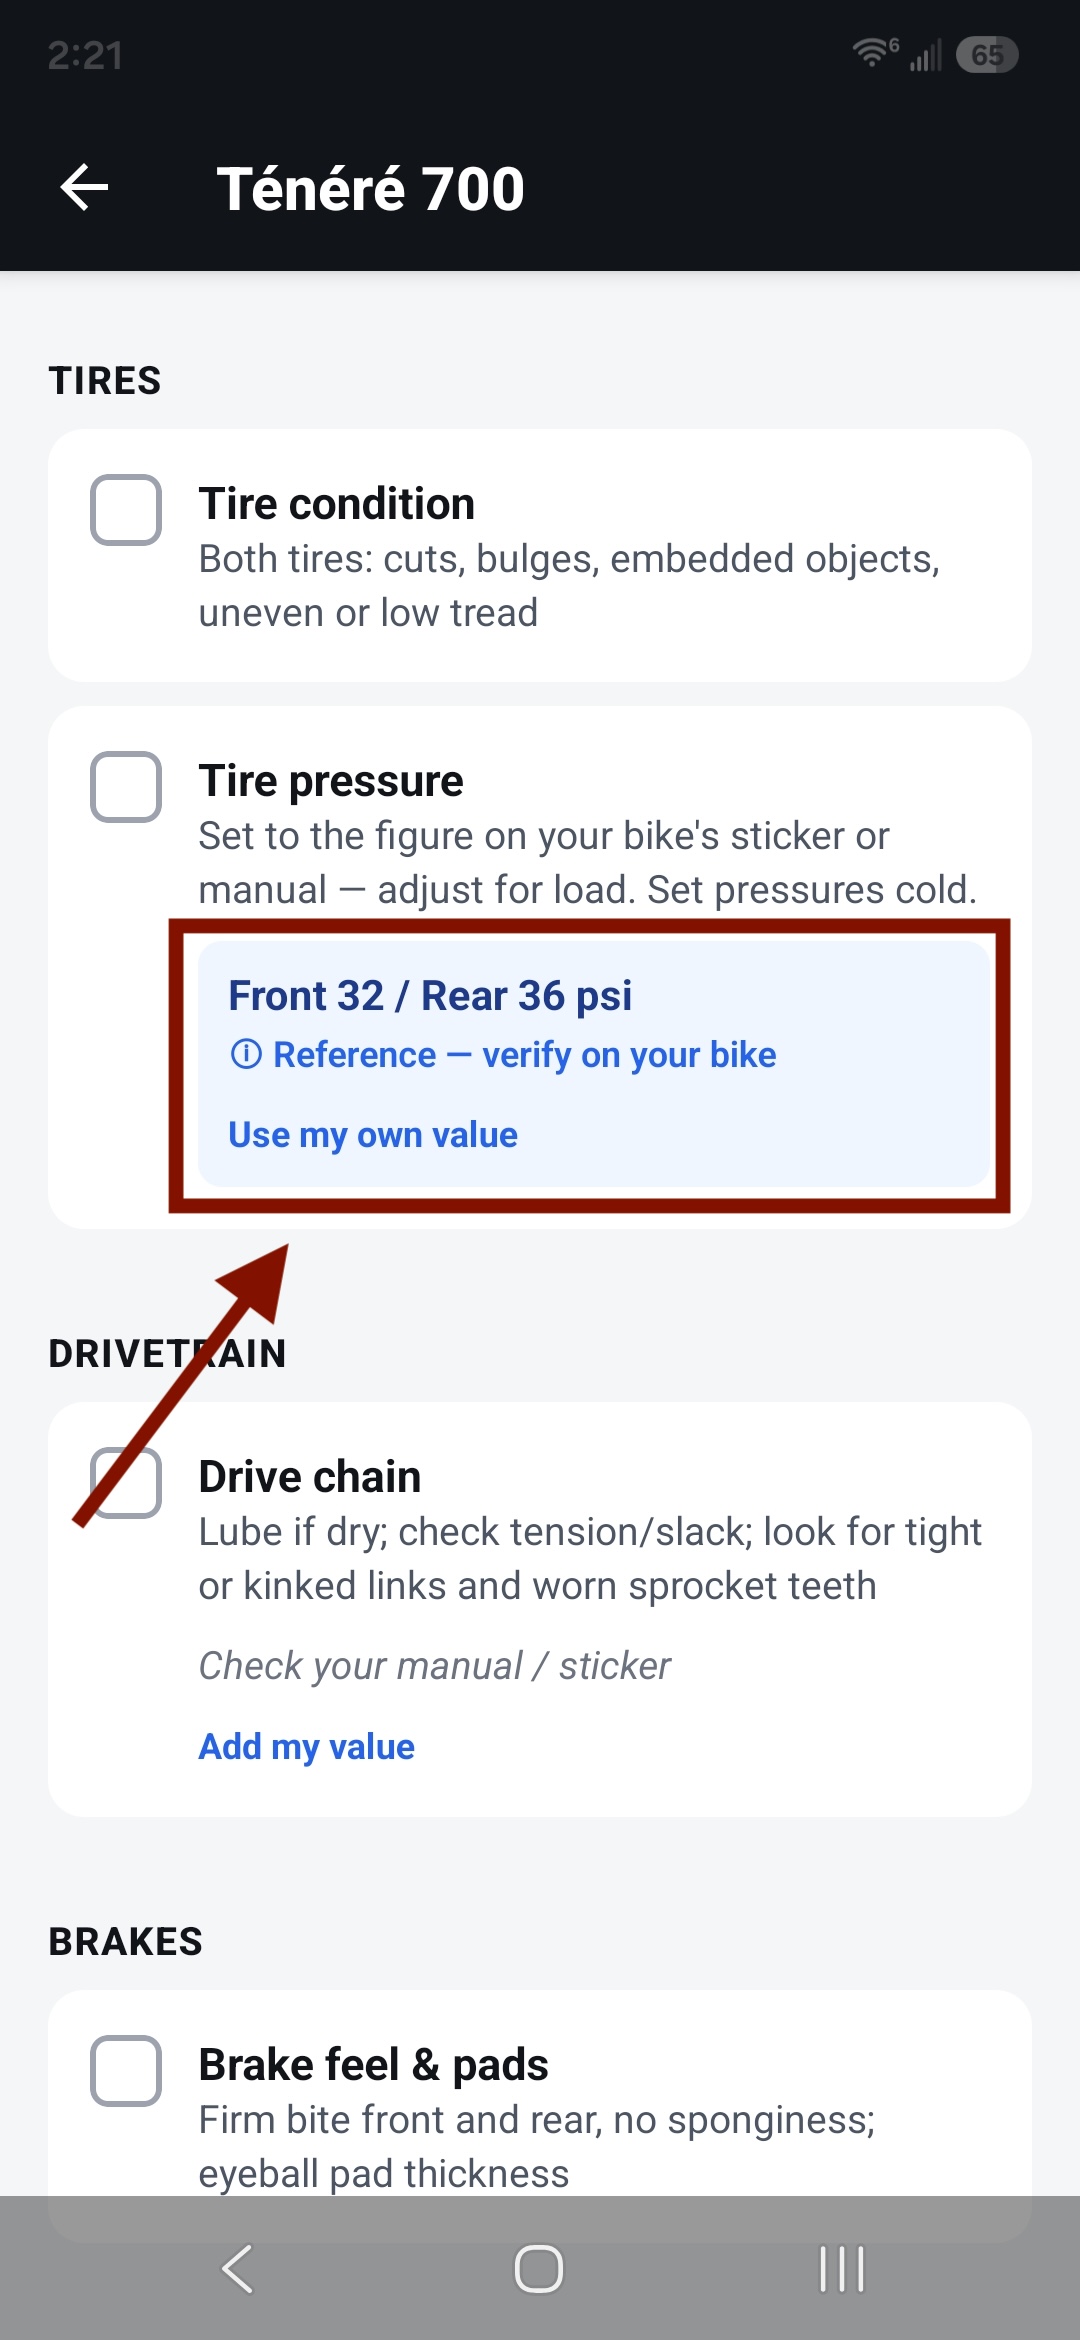
A row showing a reference value 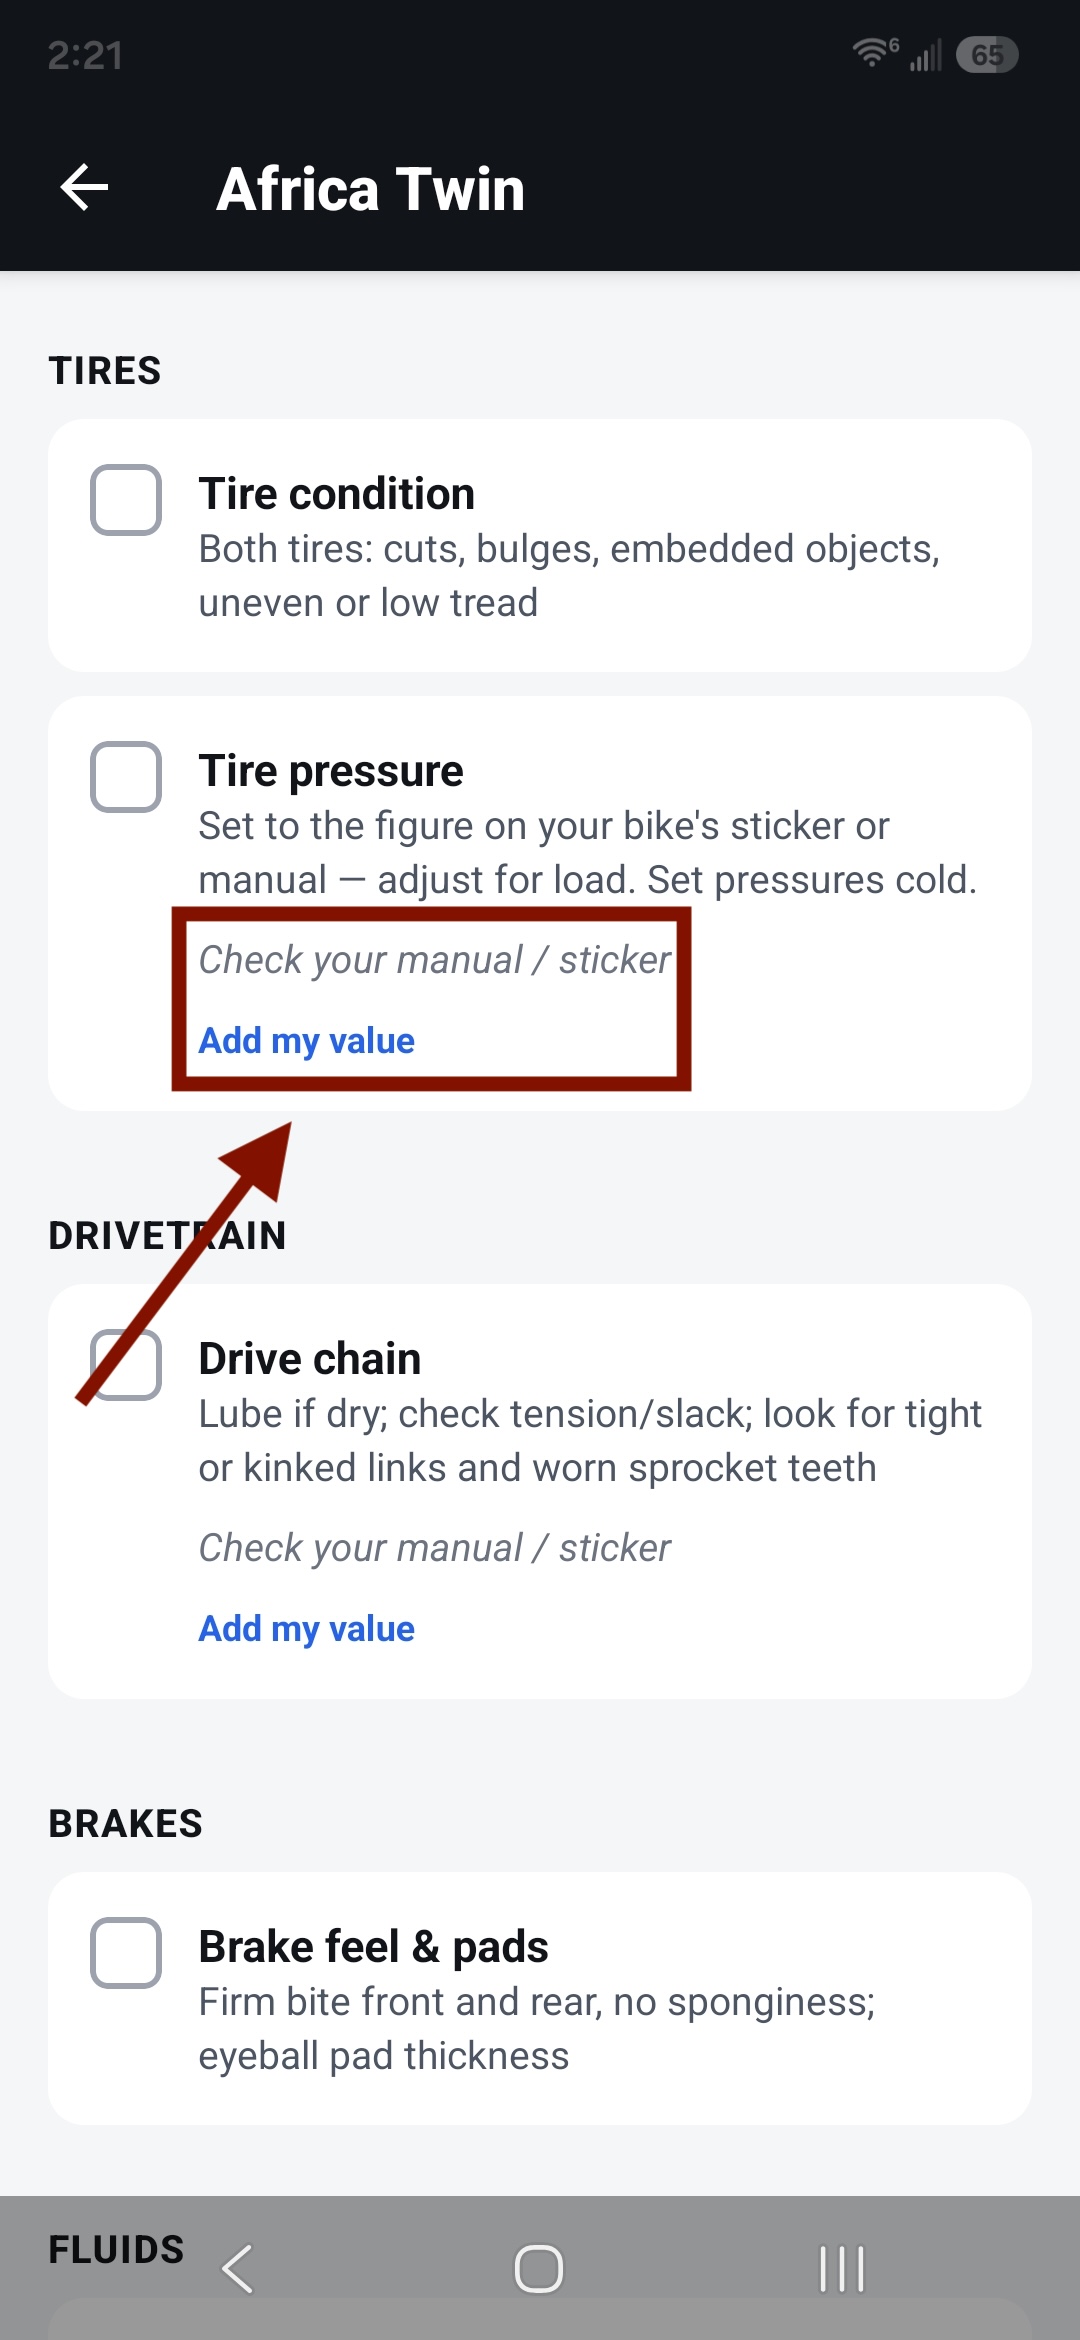
A row showing "check your manual" 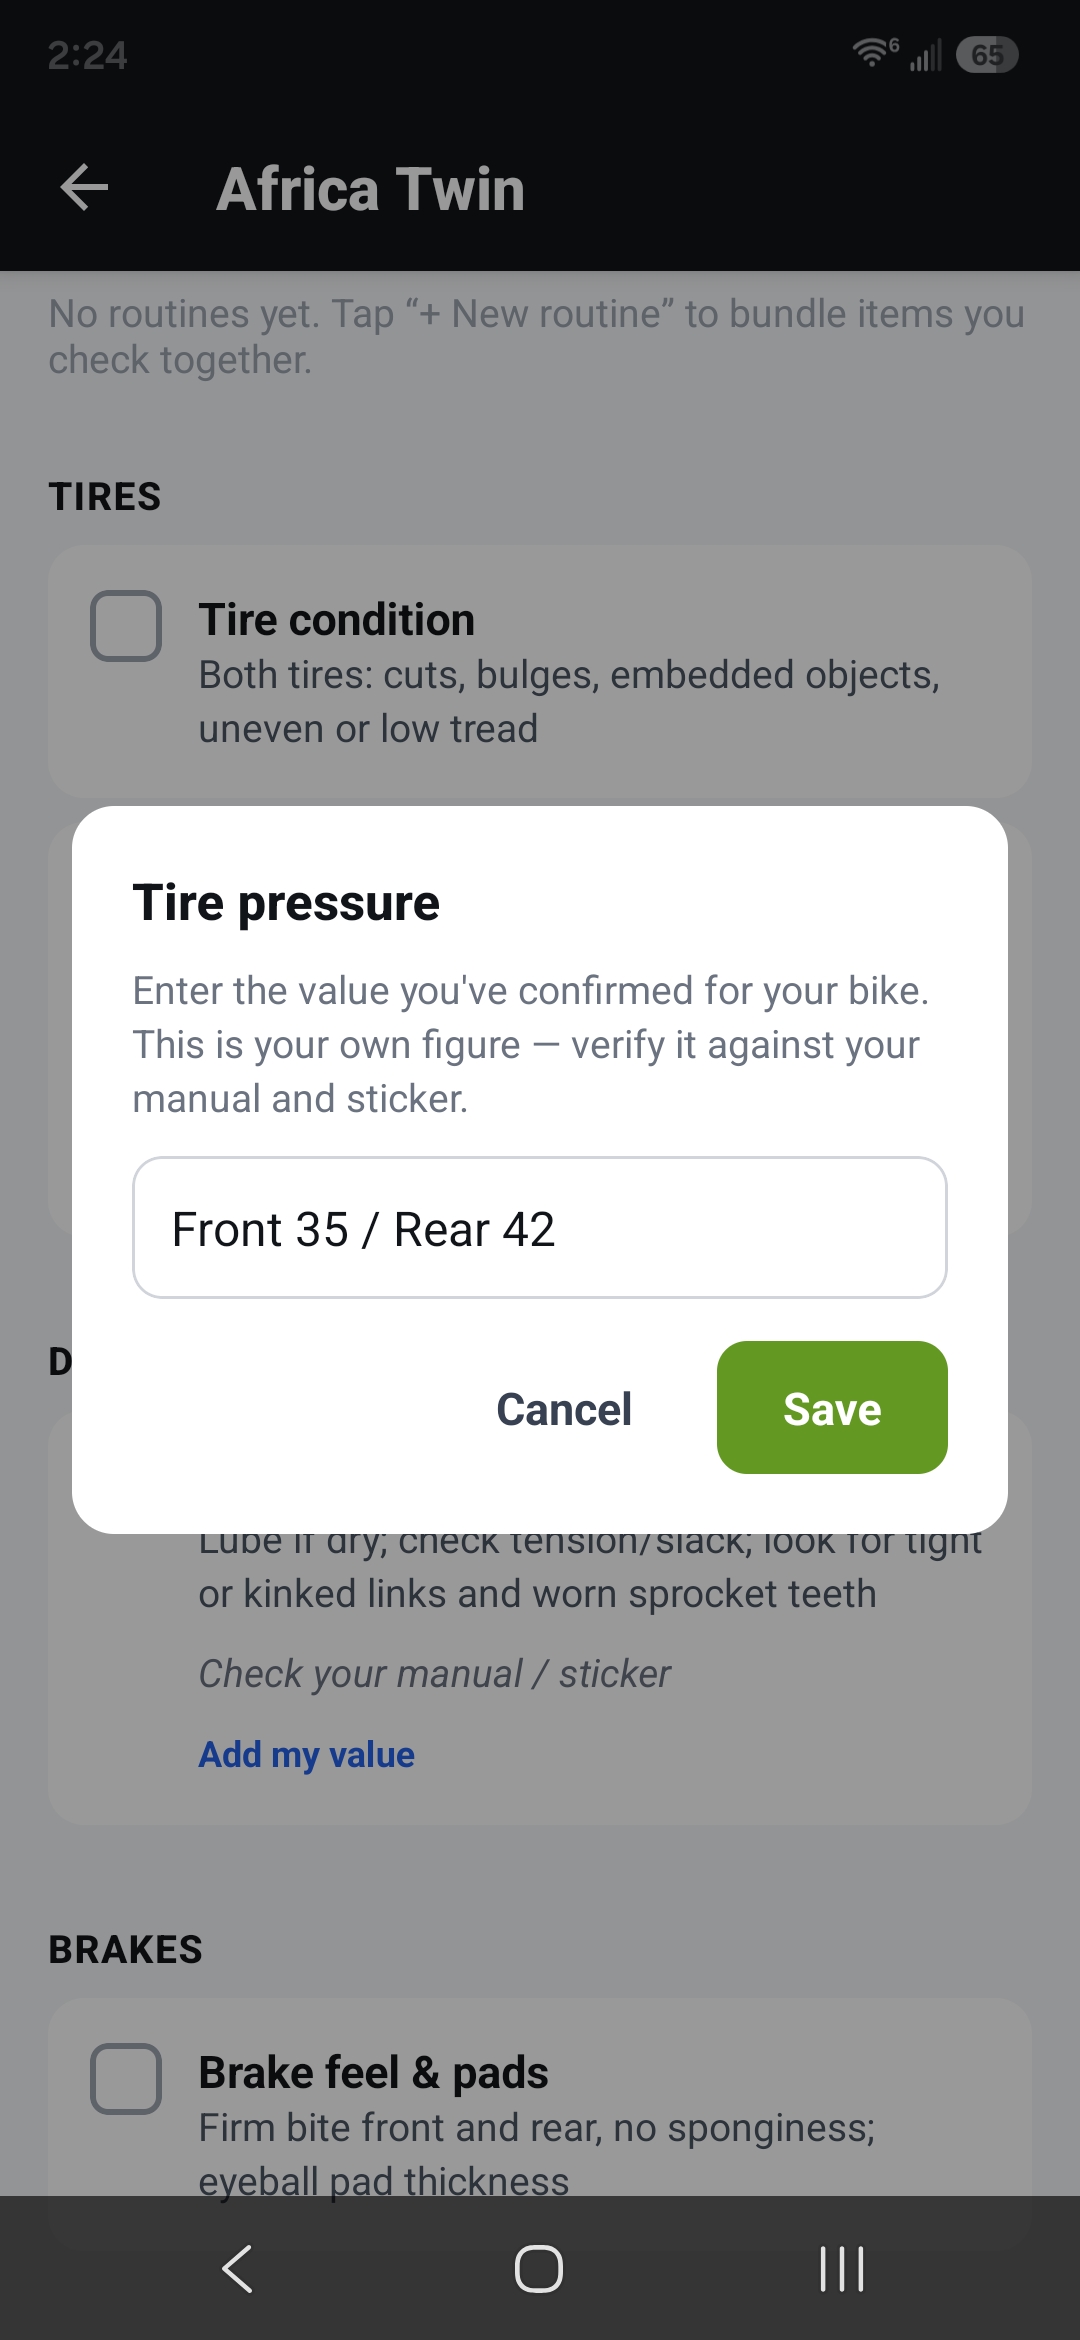
Setting your own value